最近接触到angularjs这个前端框架,也学习到了用restful API的方式进行前后端的交互,在接下来的一段时间中边学习边总结这段时间的学习成果。
要实现登录认证功能,常用的有以下这两种方法:
这两种方法各有优劣,
- Basic access authentication 主要是胜在简单,只需要在Requset Header中加入
Authorization: Basic QWxhZGRpbjpvcGVuIHNlc2FtZQ==,其中字符串”Basic “后面的是”username:password”字符串的Base64编码,如果验证不成功,server会在Response Header中返回WWW-Authenticate: Basic realm="domain",状态码为401。但是这个方法不安全,在生产环境中须要在HTTPS下使用。但也因为他够简单,我们可以在开发测试环境中使用。 - Digest access authentication 顾名思义,主要是通过server端返回的随机码和摘要算法对username和password、realm以及需要发送的请求内容提取摘要,发送给server,该方法相比Basic access authentication来说稍稍复杂,但是却有较强的安全性。
为简单和实用性,本文实现第一种方法,HTTP Basic Auth,主要用到以下插件:
front-end
AngularJs
AngularJs-storage
Bootstrapback-end
Flask==0.10.1
Flask-HTTPAuth==2.5.0
Flask-SQLAlchemy==2.0
Flask-Script==2.0.5
Jinja2==2.8
MarkupSafe==0.23
SQLAlchemy==1.0.8
Werkzeug==0.10.4
itsdangerous==0.24
angularJs 的 AuthService
AuthService 是我们自己定义的一个service,提供核心的认证功能,包括登录、登出、以及用token认证,关于token,需要强调的是,我们第一次登录的时候使用用户名和密码,server端返回一个token,以后进行认证的时候就使用token,以减少用户名和密码在网上传输的次数。token有使用时间限制,一般是几个小时之内。
1 | myApp.service('AuthService', function($q, $http){ |
signin
首先用requst函数把
username:password的base64编码加入http 请求头Authorization中,然后在认证成功后把server端返回的token发送给succesCallback。authenticate
与signin一样,首先调用request函数,不过把username替换成token,password置空,用token的方式来认证。与signin提供回调函数不一样,这里使用
$q返回promise,可以让调用then方法进一步处理结果。
Angular-Storage 存储token
server返回的token用angular-storage保存,angular-storage使用浏览器的localStorage或者sessionStorage保存,如果浏览器不支持这些功能,就要ngCookies保存。
function onLoginSuccess(token) {
    store.set('token', token);
    $scope.hitMsg = 'login success';
    $location.path('/');
}

function onLoginFailed() {
   $scope.hitMsg = 'username or password incorrect';
}

$scope.submit = function() {
    AuthService.signin({
        username: $scope.user.username,
        password: $scope.user.password
    }, onLoginSuccess, onLoginFailed)
};
上面是LoginCtrl的一段代码,可以看到,当登录成功,用store.set('token', token)保存token。
$rootScope.$on('$routeChangeStart', function (event, next, current) {
      if (!$rootScope.isLogin && next.templateUrl) {
          var token = store.get('token');
          if (token) {
              AuthService.authenticate().then(function() {
              }, function() {
                  store.remove('token');
        $location.path('/login');
              });
          } else if (next.loginRequired) {
              $location.path('/login');
          }
      }
});
上面的代码监听了全局的$routeChangeStart事件,如果用户没有登录,我们提取token进行认证,如果认证失败就删除本地的token(表明token过期了),并提醒用户登录。loginRequired是我们自定义的一个属性,用来标识该route是否需要登录。见下面的route代码:
$routeProvider
.when('/', {
    templateUrl: 'static/partials/welcome.html',
    controller: 'WelcomeCtrl',
    loginRequired: false
})
.when('/login', {
    templateUrl: 'static/partials/login.html',
    controller: 'LoginCtrl',
    loginRequired: false
})
.when('/logout', {
    templateUrl: 'static/partials/welcome.html',
    controller: 'LogoutCtrl',
    loginRequired: true
})
.otherwise({
    rediretTo: '/'
});
拦截 401 错误
如果认证失败,server会返回WWW-Authenticate: Basic realm="domain",状态码为401的错误,此时我们需要拦截这个错误,并要求用户重新登录。
myApp.factory('tokenInvalidInterceptor', ['$q', '$location', '$rootScope', 'store',
    function ($q, $location, $rootScope, store) {
    return {
        'responseError': function (rejection) {
            if (rejection.status == 401) {
                if (store.get('token'))
                    $rootScope.$broadcast('unauth_token');
                else
                    $rootScope.$broadcast('unauth');
            }
            return $q.reject(rejection);
        }
    }
}]);

// 在myApp.config中
$httpProvider.interceptors.push('tokenInvalidInterceptor');
上面这段代码创建了一个Interceptror,如果在responseError中出现401错误码,广播事件给监听者,这里如果store中包含token就广播unauth_token事件,反之,广播unauth事件,下面的代码会根据这两个事件给用户提供相应的提示信息
$rootScope.$on('unauth_token', function () {
    store.remove('token');
    $location.path('/login');
    $scope.hitMsg = 'token expire, please login';
});

$rootScope.$on('unauth', function () {
    $location.path('/login');
    $scope.hitMsg = 'please login';
});
此外,如果server端返回WWW-Authenticate: Basic realm="domain",浏览器会弹出一个对话框
提示用户登录,要避免这种情况,我们可以让服务端返回WWW-Authenticate: xBasic realm="Authentication Required", 如下
http_auth = HTTPBasicAuth()

@http_auth.error_handler
def unauthorized():
    response = make_response()
    response.status_code = 401
    response.headers['WWW-Authenticate'] = 'xBasic realm="{0}"'.format('Authentication Required')
    return response
关于token的生成和认证
生成token
from itsdangerous import TimedJSONWebSignatureSerializer as Serializer
def generate_auth_token(self):
  s = Serializer(current_app.config['SECRET_KEY'], expires_in=3600)
  return s.dumps({'id': self.id})
把用户id序列化为一个默认一小时expire的字符串
认证token
@http_auth.verify_password
def verify_password(username_or_token, password):
    if password == '':
        g.current_user = User.verify_auth_token(username_or_token)
        g.token_used = True
        return g.current_user != None
    user = User.query.filter_by(name=username_or_token).first()
    if not user:
        return False
    g.current_user = user
    g.token_used = False
    return user.verify_password(password)
这里是指HTTPAuth的密码验证函数,该函数接收两个参数,如果第二个参数,即 password 为空,则认为是以token认证,否则以username和password认证。
让程序跑一跑
要让程序成功跑起来,首先创建virtualenv,然后安装依赖
pip install -r requirements.txt
然后创建数据库
$ python manager.py create_db
然后创建用户名和密码
$ python manager.py shell

>>> u = User(name='admin')
>>> db.session.add(u)
>>> db.session.commit()
最后运行服务
$ python manager.py runserver
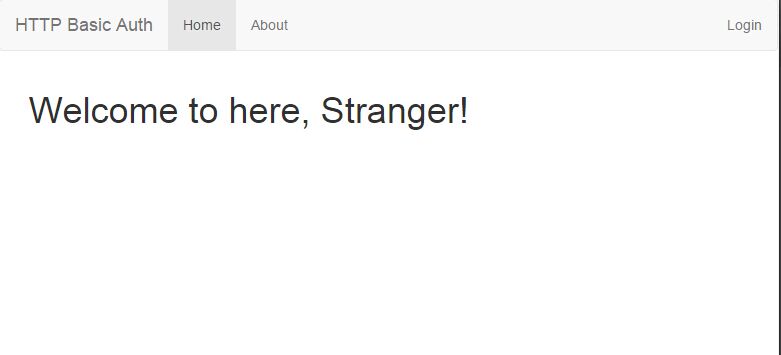
欢迎界面
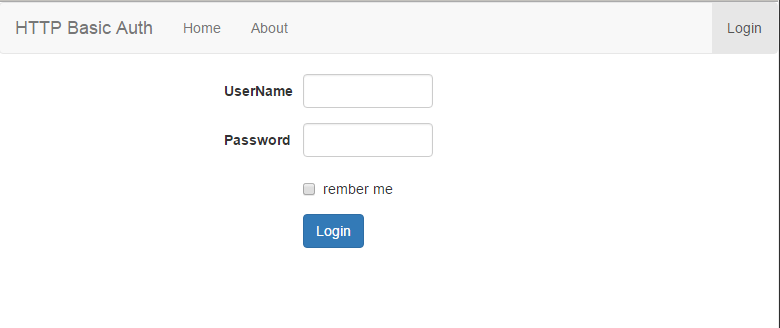
登录界面
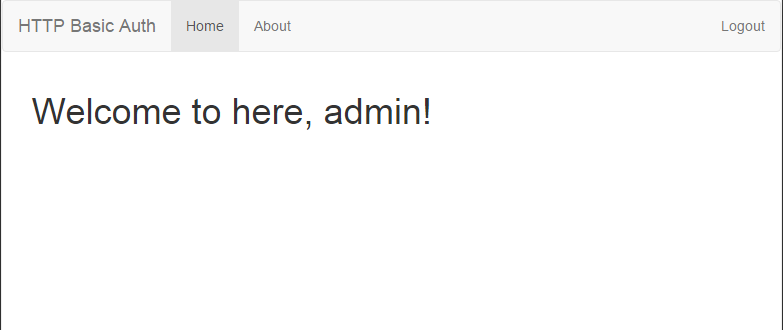
登录成功跳转到欢迎界面